Have you ever wanted to turn your regular photos into detailed 3D models but thought it was too complicated or expensive? Many people think creating 3D models requires fancy equipment or years of training. The good news is that photogrammetry makes this process much easier than most people realize.
Photogrammetry lets anyone create accurate 3D models using just a smartphone camera and free software. This technology works by taking multiple photos of an object from different angles, then using special software to stitch them together into a complete 3D model. The process relies on overlapping images to calculate depth and build realistic digital copies of real world objects.
The best part is that photographers, hobbyists, and professionals can all use this method without spending thousands on 3D scanning equipment. Whether someone wants to preserve memories, create art, or document important objects, photogrammetry offers a simple path from 2D photos to stunning 3D models that can be shared, edited, and even 3D printed.
What Equipment Do You Need to Start Making 3D Models?
Starting with photogrammetry requires the right tools and proper setup techniques. The quality of your final 3D model depends heavily on your equipment choices and how well you prepare your subject for capture.
Essential Equipment and Software
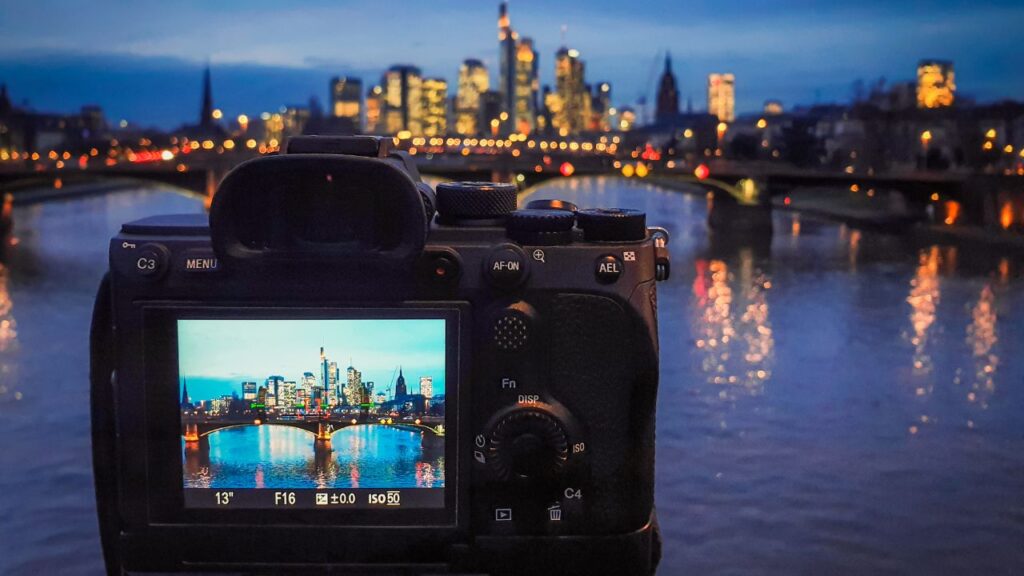
A digital camera forms the heart of any photogrammetry setup. DSLR cameras work best, but smartphones can produce decent results for beginners. The camera should have manual focus controls to prevent blurring between shots.
A sturdy tripod keeps photos sharp and consistent. Many photographers skip this step, but it makes a huge difference in final model quality.
Good lighting eliminates shadows that confuse the software. Two or three LED panels or desk lamps provide even coverage. Avoid direct sunlight or single light sources that create harsh shadows.
Popular photogrammetry software includes:
- Agisoft Metashape (professional grade)
- RealityCapture (fast processing)
- Meshroom (free option)
- 3DF Zephyr (beginner friendly)
A black turntable helps rotate objects smoothly between shots. Black fabric or poster board creates a clean background that software can easily remove.
Preparing Your Subject for Capture
Matte surfaces photograph better than shiny ones. Spray reflective objects with matte finishing spray before shooting. This prevents bright spots that confuse the software.
Small objects need scale references. Place a ruler or coin next to the subject so viewers understand the real size.
Remove transparent materials like glass or plastic from the scene. Photogrammetry software cannot process see-through surfaces properly.
Textured surfaces work best for 3D reconstruction. Smooth, plain objects lack the detail points software needs. Add temporary texture with chalk dust or flour if needed.
Clean the shooting area of clutter. Extra objects in photos create unwanted geometry in the final model.
Best Practices for Taking Photos
Take 60 to 100 photos from different angles around the object. More photos usually mean better results, but too many slow down processing.
Overlap each photo by 70% with the previous shot. This overlap helps software match points between images.
Keep the same camera settings throughout the shoot. Use manual mode to lock aperture, shutter speed, and ISO. Changing settings between shots creates problems during processing.
Circle the object at multiple heights. Take photos at eye level, then move up and down to capture top and bottom details.
Focus on the subject in every shot. Blurry photos create holes in the final 3D model that are hard to fix later.
Check photos on the camera screen before finishing. Reshoot any blurry or poorly lit images right away.
How Do You Create and Refine Photogrammetry Models?
The model creation process involves importing your photos into software, processing the data, cleaning up problems, and exporting the final result. Getting good results depends on proper settings and careful editing.
Importing Images and Processing Data
The first step is loading your photos into photogrammetry software. Most programs let you drag and drop image files directly into the workspace.
Check that all images appear correctly. Look for blurry or dark photos that might hurt the final model quality. Remove any bad images before starting.
Set your processing quality based on your needs. Higher quality takes more time but gives better results. Low quality works well for quick tests.
Most software runs the processing automatically. The program finds matching points between photos and builds a 3D point cloud. This step can take several hours for large image sets.
Monitor the progress and check for error messages. Some programs show how many images matched successfully. Low matching rates often mean the photos need better overlap.
What Settings Help Optimize 3D Reconstruction?
Choose the right alignment accuracy for your project. High accuracy works best for detailed objects. Medium accuracy saves time for larger scenes.
Enable depth filtering to remove noise from the reconstruction. This setting helps clean up messy areas but might remove some fine details.
Set point cloud density based on your final use. Dense clouds work well for close inspection. Sparse clouds load faster for basic viewing.
Use ground control points if you have GPS data. These points help make measurements more accurate in the final model.
Check the camera calibration results. Good calibration shows low error values. High errors might mean some photos have problems.
How Do You Edit and Clean Your Model?
Start by removing floating geometry that appears away from your main object. Select these pieces and delete them using the software tools.
Fill small holes in the mesh using automatic repair tools. Most programs can detect and fix common problems without manual work.
Smooth rough surfaces where needed but avoid over smoothing. This can remove important details from your model.
Check for texture problems like blurry or stretched areas. You can often fix these by adjusting the texture settings or removing problem photos.
Use cropping tools to remove unwanted parts of the scene. This helps focus attention on your main subject.
Exporting Final Models
Choose the right file format for your needs. OBJ files work well for 3D printing. FBX files work better for game engines.
Set polygon count based on where you plan to use the model. High poly counts work for detailed inspection. Low poly counts load faster in apps.
Include texture maps when exporting. These files contain the color information that makes your model look realistic.
Check scale settings before exporting. Make sure your model has the right size for its intended use.
Test the exported file in your target software. This helps catch any problems before sharing or using the model.